静态URL,第一个Web界面
新建脚本文件01_hello.py
1 | from flask import Flask |
debug:调试模式
- 在调试模式下,修改代码后,服务器会自动重启,刷新浏览器即可查看页面变化。当项目上线时,请关闭调试模式。
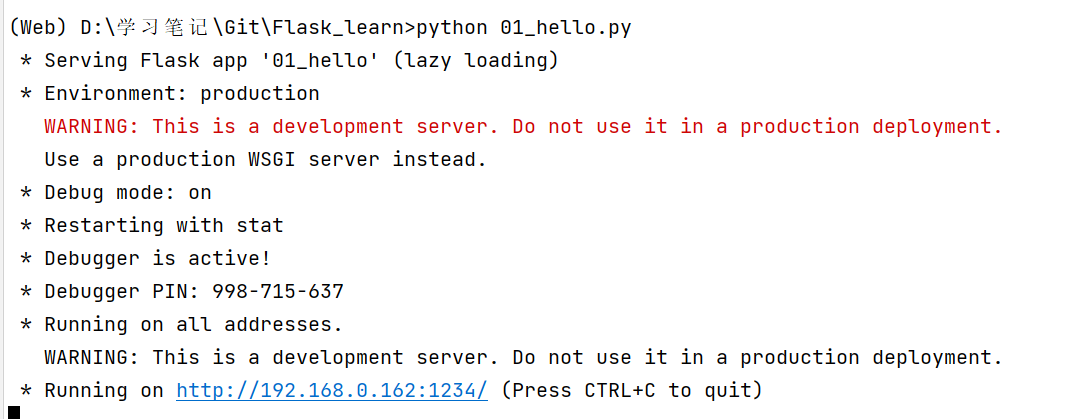
运行脚本文件01_hello.py
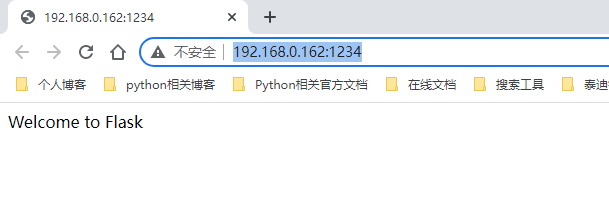
运行效果如图所示:
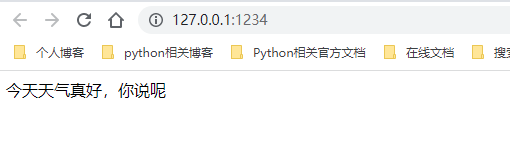
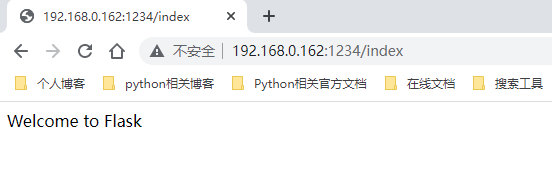
网页效果:
- (
192.168.0.162:1234)
- (
192.168.0.162:1234/hello)

动态URL,根据网页地址获取相关参数
新建脚本文件02_user.py
1 | # 动态URL |
运行脚本文件
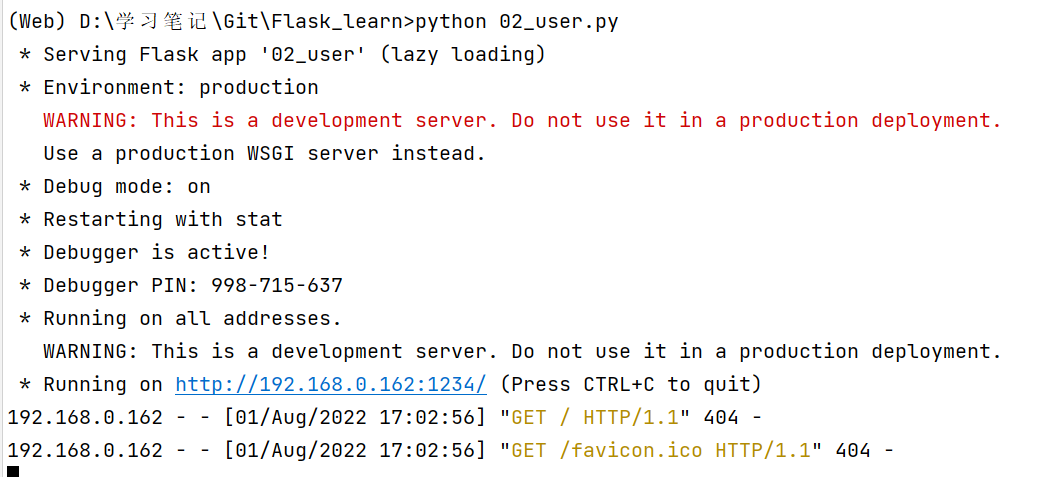
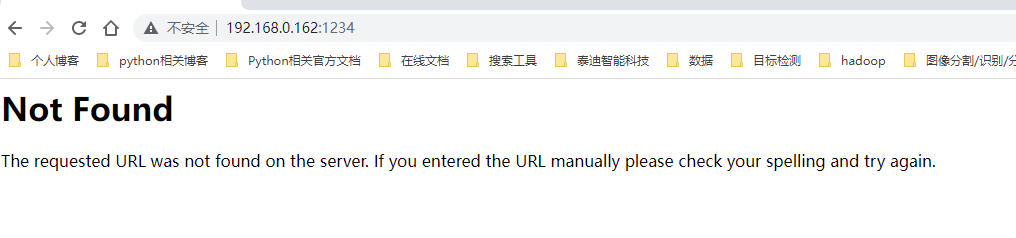
可以发现直接进入相应IP和端口是无法访问
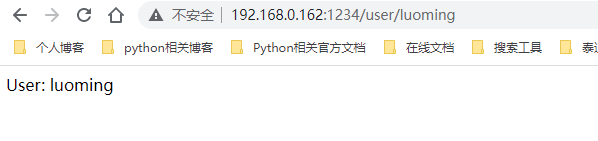
进入192.168.0.162:1234/user/luoming,发现可以返回相应姓名
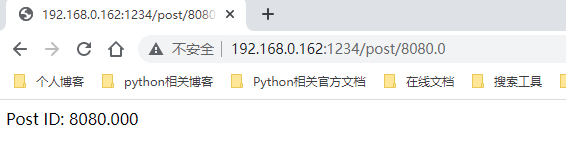
进入192.168.0.162:1234/post/8080.0,可以返回相应的数字
同一个页面绑定多个URL
1 | from flask import Flask |
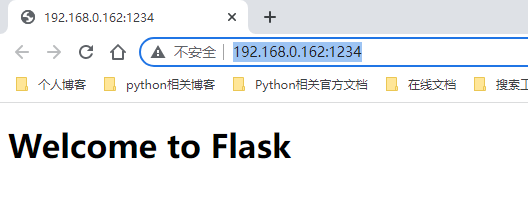
访问 192.168.0.162:1234
访问 192.168.0.162:1234/index
发现都能返回同样的结果
构造URL
Flask除了能够匹配URL,还能够生成URL。Flask可以用url_for()来给指定的函数构造URL它接受函数名作为第一个参数,也接受对应URL规则的变量部分的命名参数。未知变量名部分会添加到URL末尾作为查询参数
1 | from flask import Flask, url_for, redirect |
HTTP请求方法
例如:GET请求、POST请求
通过methods指定
1 | from flask import Flask, request |
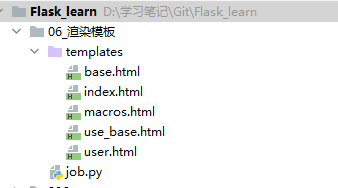
渲染模板
默认情况下,Flask在程序文件夹中的templates子文件夹中寻找模板。下面通过一个实例介绍如何渲染模板。
index.html文件
1 |
|
user.html文件
1 |
|
job.py文件
1 | from flask import Flask, render_template |
运行工程,进入 192.168.0.162:1234/
进入192.168.0.162:1234/user/luoming
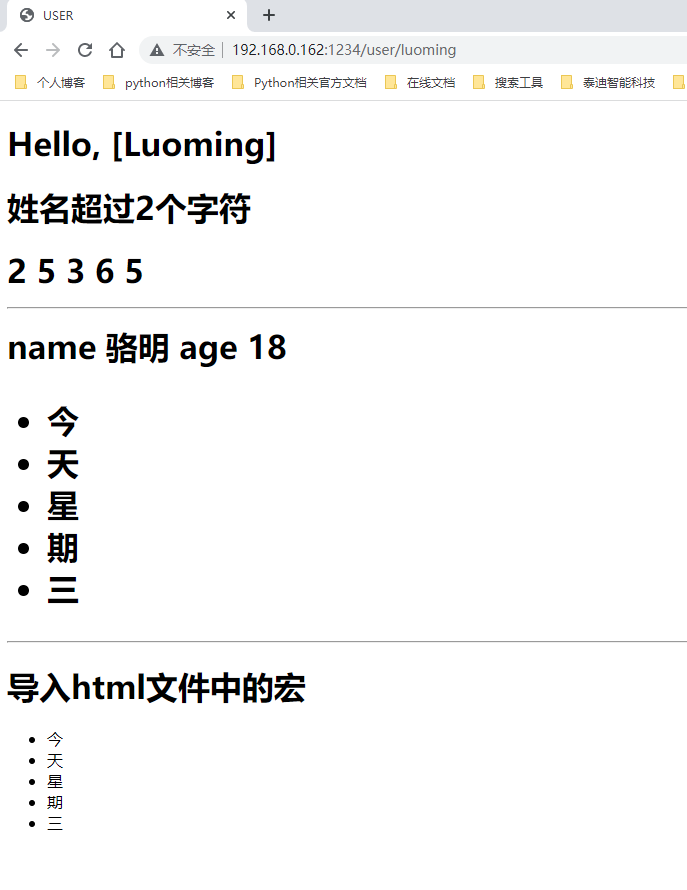
JinJa2定义模板
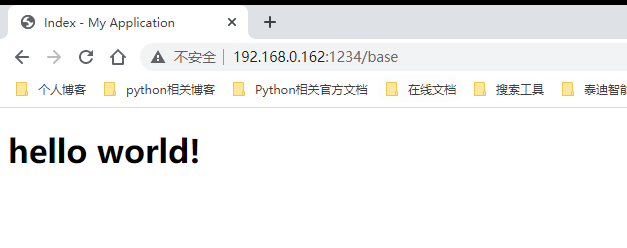
base.html文件
1 |
|
use_base.html文件
1 | <!--继承base模块,创建模板--> |
进入 192.168.0.162:1234/base