使用numpy生成一张图片
1
2
| import numpy as np
import matplotlib.pyplot as plt
|
1
| img1 = np.zeros((100, 100, 3))
|
1
2
| plt.imshow(img1)
plt.show()
|
1
2
3
|
img1[:, :, 0] = 255
img1[:, :, 2] = 255
|
1
2
| plt.imshow(img1)
plt.show()
|
Clipping input data to the valid range for imshow with RGB data ([0..1] for floats or [0..255] for integers).
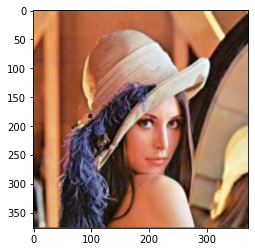
读取计算机中的图像
读取彩色图像
1
| img2 = cv2.imread('lena.jpg')
|
(377, 373, 3)
读取灰度图像
1
| img3 = cv2.imread('lena.jpg', flags=cv2.IMREAD_GRAYSCALE)
|
(377, 373)
1
2
| img4 = cv2.imread('lena.jpg', 0)
img4.shape
|
(377, 373)
展示图像
使用plt显示图像
1
2
3
|
plt.imshow(img2[:, :, ::-1])
plt.show()
|
使用cv2去展示图像
1
2
3
4
5
6
7
8
9
10
11
12
13
14
|
cv2.imshow(winname='lena', mat=img2)
a = cv2.waitKey(delay=0)
if a == ord('q'):
print('关闭窗口')
elif a == ord('b'):
print('返回上一步')
else:
print('继续。。。。')
cv2.destroyAllWindows()
|
关闭窗口
opencv显示图像的操作比较繁琐,但是显示出来的图像能够监听键盘,键盘输入任何内容都会终止图像的显示,并且将输入的键盘内容对应的ASCII编码返回出来。可以引入交互。
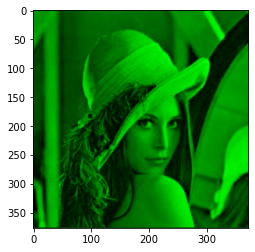
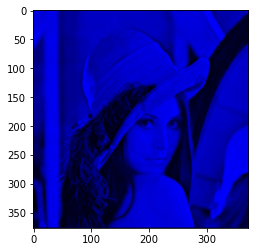
展示一个图像的RGB三通道
1
2
3
| img21 = img2.copy()
img22 = img2.copy()
img23 = img2.copy()
|
1
2
3
| img21[:, :, 1:] = 0
img22[:, :, [0, 2]] = 0
img23[:, :, :2] = 0
|
1
2
3
4
5
6
| plt.imshow(img21)
plt.show()
plt.imshow(img22)
plt.show()
plt.imshow(img23)
plt.show()
|